Last updated: 22nd September 2025
I have been asking and watching discussions on some Chain of Command² rule clarifications on the Facebook Group and on the TFL's Patreon channel, and the excellent community has provided some advice that has helped me to better understand a few rules I wasn't clear on.
I hope I have reflected the discussions accurately, happy to amend if required. If a FAQ supersedes this I will reflect any updates.
In an attempt to keep these in one place where I can find them - I thought I would make them available to you too.
- Anti-Tank Guns and Shock/Pinning
- Firing on Transport Vehicles
- Handgranaten! and Terrain
- Bombardments and Interrupts
- Bunched Targets
- Bunkers and Cover
- Smoke Grenades and Tanks
- Light Cover, Hard Cover and Hard Hard Cover
1. Anti-Tank Guns and Shock/Pinning
 |
British airborne troops with a 6-pdr anti-tank gun in Hamminkeln, Germany, 25 March 1945 |
So how does shock affect an Anti-Tank gun and team? Lets use a worked example to explain:
- A 6 pounder Anti-Tank gun with five crew and Junior Leader is subjected to enemy fire.
- The team take enough shock to pin them - in this example no one died, so as per 4.1.1 Pinned Units, it becomes Pinned when the amount of Shock exceeds the number of figures, including attached Leaders - in this example seven shock (shock > crew + unstunned attached leaders: 7 > (5 + 1)).
So the gun is now Pinned, what does this mean for the gun crew as per 4.1.1?
- They cannot move - importantly that means they cannot reposition their gun - they are fixed to their current arc of fire.
If it is activated in a subsequent phase it will operate differently depending on what it is doing:
- Firing HE
- When firing HE, the number of Firepower Dice is halved (see 4.1.1). The 6 pounder would roll two Firepower Dice whilst Pinned instead of the normal four.
- Firing AP
- When firing AP, the impact of Shock gives -1 adjustment per point of shock on the firing gun as per 16.1. In our example, this would be minus seven to the Roll to Hit - it would be a miracle to hit a barn door with this penalty. The number of AP Strike Dice is not changed - Shock and Pinning effects impact Firepower Dice not Strike Dice - so the 6 pounder rolls it's full nine AP Strike Dice in the unlikely event it hits anything.
So far so good. The pinned gun is having a bad time but let us imagine that their Junior Leader or a visiting Senior Leader drops by and all of their Shock is removed - what happens now? The gun is still Pinned - how does this impact their subsequent firing:
- Firing HE
- The unit is still Pinned so it's Firepower Dice are still halved.
- Firing AP
- With zero Shock there are zero adjustments to the Roll to Hit, however the gun cannot move or rotate its arc of fire. If alternatively, there was still some shock this would reduce their Roll to Hit as before. It still has its full AP Strike Dice of nine if it hits anything.
Obviously at End of Turn things would be resolved as usual, remaining Pinned or becoming unpinned as appropriate. |
2. Firing on Transport Vehicles
With the advent of increased use of passenger vehicles other than AFVs and APCs, what would happen if you target the passengers in an unarmoured car or lorry?
The cover for the passengers will depend on the robustness of the vehicle. In my opinion, firing upon a jeep might consider the passengers in the Open, in a sturdy lorry or car Light Cover as appropriate.
In addition to hits caused on the passengers, any 6’s rolled when firing at Transport Vehicles causes a point of Shock on the vehicle (as per 13.2.12 and 4.2.1).
A quick summary from Rich
"So, the first thing you do is forget the transport. Just shoot at the passengers as though in light cover (zero cover if firing HE). When you fire you'll roll Firepower Dice. They cause hits and casualties as normal, but any 6's rolled ALSO cause shock on the transport. Transport vehicles cannot rally shock and are KO when they reach 4 shock."
3. Handgranaten! and Terrain
Those pesky Germans are big fans of Handgranaten, and we had an instance where the Germans were inside one house, an American squad in another - both houses were within 12" and visible to one another.
The question arose that when Handgranaten was initiated were there any terrain penalties for exiting one house and entering a second? The answer is when using Handgranaten ignore terrain between the two parties (obviously within reason - no climbing cliffs!).
To quote Rich:
"This is a supercharged move. They just move with 3D6 and do their stuff. It;'s a bit generous but its their trademark move. And their Dad did it before them."
4. Bombardments and Interrupts
In one of our games the German player called in an SOS bombardment upon an American squad, which he then reacted to by using a full Chain of Command dice to interrupt and move away from the targeted area.
This led to a long debate but ultimately the call was that Rules As Written do allow you to interrupt a bombardment but it is not in the game designer's mind that you should not do so as it goes against all military training to run around when the shells start landing.
Long story short - you can't interrupt a bombardment in the spirit of the game.
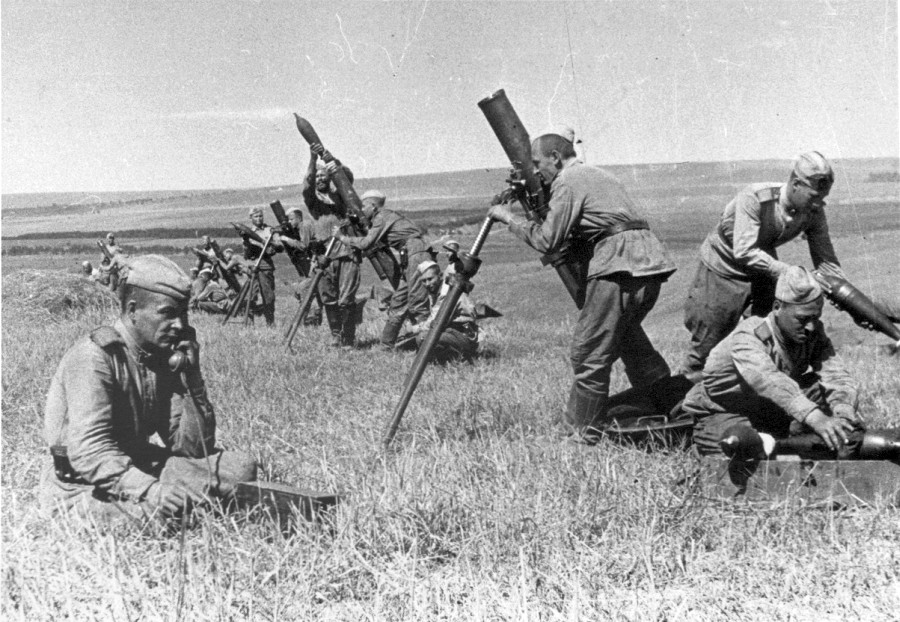
5. Bunched Targets
 |
| Bunched targets on Dunkirk beach 1940 |
Oh boy, a lot to cover here with the new rule. First of all let's recap the rule so we know what we are playing with:
13.2.2 "Bunched Targets Where the target is made up of three or more teams, this is a Bunched Target. A +1 modifier is applied when rolling to hit Bunched Teams"
So on to the questions and answers I have gleaned so far. I am not going to go in to all of the debates and arguments and try and concisely give just the answer.
- Can an infantry section with 3 or more teams be considered a Bunched Target?
The simple answer is that no single section can ever be a Bunched Target.
- Does a sniper get +1 to hit a bunched target?
- Does High Explosive (HE) or a Bombardment get +1 modifier (hits on 3+) with a Bunched Target?
Yes.
- Firing on targets in mixed levels of cover, when is it a Bunched Target?
Okay this one is this more complicated and will take an example to be clear. The scenario is that there are three teams (meeting the Bunched Target criteria) but they are in differing levels of cover.
For the purposes of this example let's put Team A in hard cover and Teams B and C in light cover. Three Teams close enough to be considered a Bunched Target but in differing levels of cover.
As per 13.2.1, "Where the target Team has other friendly Teams within 4”, they become part of the target if they are visible and in the same level of cover. If the target Team has another friendly Team within 4” but in better cover, the firer can choose to concentrate all fire on the Team with less cover, or they can divide the fire between both. Where the target Team is in better cover than the other Unit, the hits must be divided between them."
If the team you targeted has two other teams (or more) within 4" of it, it is a Bunched Target if you are engaging all of the target teams (in our example Teams A, B and C). You will get the +1 modifier if you target all eligible teams regardless of their levels of cover.
However, if you elect to just fire at the two Teams B and C in lesser cover, then Team A is excluded, so the target is not considered a Bunched Target.
In short, to get the benefit of a Bunched Target you must target 3 or more Teams, if this means they are in differing levels of cover then you must take this in to account with their cover saves.
6. Bunkers and Cover
Many weapons reduce cover of the target such as HE and other weapons, does this impact the cover a bunker provides? Answer is no they don't.
To quote Rich:
"Bunkers are unique and separate from light and hard cover. The bunker rule always applies. You can’t reduce cover of a bunker."
7. Smoke Grenades and Tanks
 |
| Not that sort of smoke! |
Firing an Anti-Tank weapon at a vehicle through a smoke grenade makes the target "view badly obscured" (16.1).
This would apply to an Infantry thrown smoke grenade or a Soviet "Smoke Grenades for AFV" support choice. Obviously vehicle generated smoke and mortar smoke block line of sight completely.
8. Light Cover, Hard Cover and Hard Hard Cover
There may be situations where you can enhance your "natural" cover rating of light or hard cover by either adopting a Tactical stance or other means.
If you think of cover in terms of modifiers (bear with me on this), so being in the open is Level 0, light cover is Level 1 and hard cover is Level 2.
When calculating cover, you stack the positives and then remove the negatives to end up with the level of cover at the end. You can't get better than hard cover (Level 2) but you can protect it some times - let me explain. The process is:
- Stack bonuses first, then subtract penalties.
- Hard cover is the cap—you can’t exceed Level 2, but you can protect it from being reduced.
Two examples:
Infantry squad in a building is in hard cover (Level 2).
If they are targeted by small arms they are in hard cover.
If they are targeted by HE they are in light cover (Level 2 hard cover minus 1 for HE = Level 1 light cover).
However, if they adopt a Tactical stance in a building then they are in hard cover versus small arms (you can't get better then Level 2 hard cover), and they are in hard cover versus the HE (Level 2 hard cover plus +1 bonus for Tactical minus 1 for HE penalty = Level 2 hard cover overall).
Tactical stance acts like a buffer against HE’s degrading effect. It doesn’t push you past Level 2 hard cover, but it preserves hard cover when it would otherwise drop.
An Anti-Tank gun is in hard cover of an emplacement. It’s also got a gun shield (effectively Level 2 hard cover plus +1 bonus for the Gun Shield). So that’s hard cover plus a bonus cover level.
If targeted with firearms then they are in hard cover (you can't get better then Level 2 hard cover),
However, if targeted with HE which reduces cover, that doesn’t reduce to light cover as the reduction of cover only removes the benefit of the gun shield (Level 2 hard cover plus +1 bonus for the Gun Shield minus 1 for HE penalty = Level 2 hard cover overall)
The gun shield is an additional bonus—a little like a Tactical stance. But since the base terrain is hard cover, the loss of the shield doesn’t drop you below Hard Cover.
More to follow as I come across them.


